Nuxt, Vue and MongoDB are tools that circle around JavaScript and are made with the propose to be used on a mid-big interactive app context. Deploying Nuxt or Vue with Docker it's not usually a thing, but many times we find exceptions that can only be found when we try to make something work using various technologies at the same time. The idea of this article is to achieve an app using those tools to get an application using Nuxt.js to communicate with the database inside docker. That is to say, Nuxt.js will create through mongoose and Nitro a global connection to the mongodb container, then through the frontend made in Vue the requests to the corresponding Nuxt endpoints to save the data in the database.
Setting Docker
On this example we're going with Docker Compose on his latest version, but surely you won't get any problems using previous versions (docker-compose).
In the root of the project we'll create a compose.yml or docker-compose.yml file in which we'll set the containers that we are going to use later, being the Nuxt.js the first one. The port, volumes, user and so on are not relevant to this case so it gonna be of you choice. After the app container, there are another two left that are related to MongoDB:
mongo: The main container and the one that runs the hole database and the one that will be used by the app to interact with the db. If we are looking for data persistence, we need to set a route for it, for example ./mongodb_data:/data/db:ew. Its recommended too to assign the user with higher privileges, root.
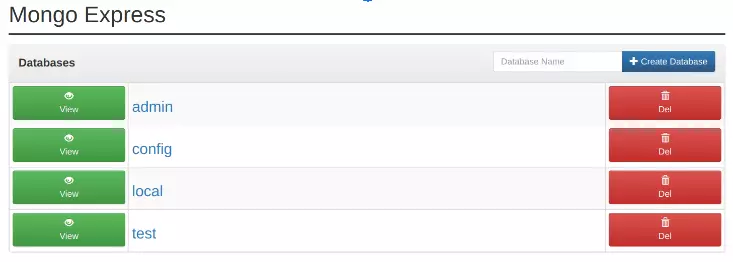
mongo-express: This container is used to deploy a client in which operate with MongoDB graphically. It gives a graphical user experience to manage the database with ease.
That's a compose.yml file configuration example:
services:
  node:
    image: node:20.14.0-slim
    container_name: name
    command: tail -f /dev/null
    working_dir: /app
    user: root
    volumes:
      - .:/app
    ports:
      - 3000:3000

  mongo:
    image: mongo
    container_name: "name_mongodb"
    restart: always
    volumes:
      - ./mongodb_data:/data/db:rw
    environment:
      MONGO_INITDB_ROOT_USERNAME: root
      MONGO_INITDB_ROOT_PASSWORD: root

  mongo-express:
    image: mongo-express
    container_name: "name_mongodb_express"
    restart: always
    ports:
      - 8081:8081
    environment:
      ME_CONFIG_MONGODB_ADMINUSERNAME: root
      ME_CONFIG_MONGODB_ADMINPASSWORD: root
      ME_CONFIG_MONGODB_URL: mongodb://root:root@mongo:27017/
      ME_CONFIG_BASICAUTH: false
Official docs on: https://hub.docker.com/_/mongo
Setting Nuxt
Nuxt.js is a framework that comes with the propose of improving Vue.js adding many layers of extra functionalities like SSR (Server Side Rendering), dynamic routing and regular routing by default, Nitro, etc. This article it's not about Nuxt.js but about how to use it alongside Docker and MongoDB, but you can create your own Nuxt app by executing the following command:
npx nuxi@latest init <project-name>Official docs: https://nuxt.com/docs/getting-started/introduction.
Aside from all the Nuxt.js configuration which is independent of this article, the Nuxt.js configurations for use with Docker and MongoDB are very simple, you just have to follow these two steps:
DDBB Connection
First we need a connection with the DB, so we'll create a file (the filename doesn't matter) within the "db" folder (or the name of your choice) inside of the server folder that it's located on the root of the project on Nuxt.js. The server folder it's where we're going to store all of the files or scripts related with the server, this is because Nuxt it's a SSR (Server Side Rendering) oriented framework, and because of that the entire code stored on server folder will be taken as part of the app server. The connection file itself is useful to create an unique global connection to the mongo container using mongoose and nitro, with it we can just use that connection to operate with the database from any part of the application without having to create a new connection for each operation and blocking threads.
Once we are inside the file, we're going to paste the following code:
import mongoose from "mongoose";
import type { Nitro } from "nitropack";

const URI = process.env.MONGODB_URI || '';

export default async (_nitroapp: Nitro) => {
    mongoose.connect(URI).then(() => {
        console.log('DB connected');
    }).catch((e) => {
        console.error(e);
    })
}
To the connection, in my case I'm using mongoose, a library that acts like a driver to the connection between the app and the database. Mongoose is in charge of the communication between the app and the mongo container, that's how it connects with the db, but it is also useful to create models or simplify operations.
You can also use another MongoDB drive like the original one.
nuxt.config.ts
Setting Mongo on Nuxt it's quite simple because there is a package that comes by default with Nuxt which is very useful to being able to do global connections like this one, I'm talking about Nitro, a framework designed to improve backend code runtime and to use it you just have to add the following code withing the "defineNuxtConfig" inside of the nuxt.config.ts file (the Nuxt general config file).
nitro: {
    plugins: ['~/server/db/connect.ts']
  },
I'm using as an example the route ~/server/db/connect.ts but the idea is using the route to the file responsible of doing the connection with the DB.
Local configuration
Now to make it work, we have to set the environment variable required on the db connection file that we've seen before, ./server/<directory name>/<filename>.ts. To do so, on the root of the project we'll create a .env file and inside of it we'll add a variable called MONGODB_URI (that's the standard name to environment variables on mongodb) and assign as a value the URI of our database. If we do not assign this environment variable then the connection between the app and the database will fail, this is because the URI do not acts only as an authentication method but also as a route that the JavaScript driver used to connect with MongoDB will use to point to the correct place.
We only need to copy the URL/value that is assigned to the ME_CONFIG_MONGODB_URL key within of compose.yml file that we configured before, then add a "/" and the name of our database. In my case, it will be mongodb://root:root@mongo:27017/test.
Express
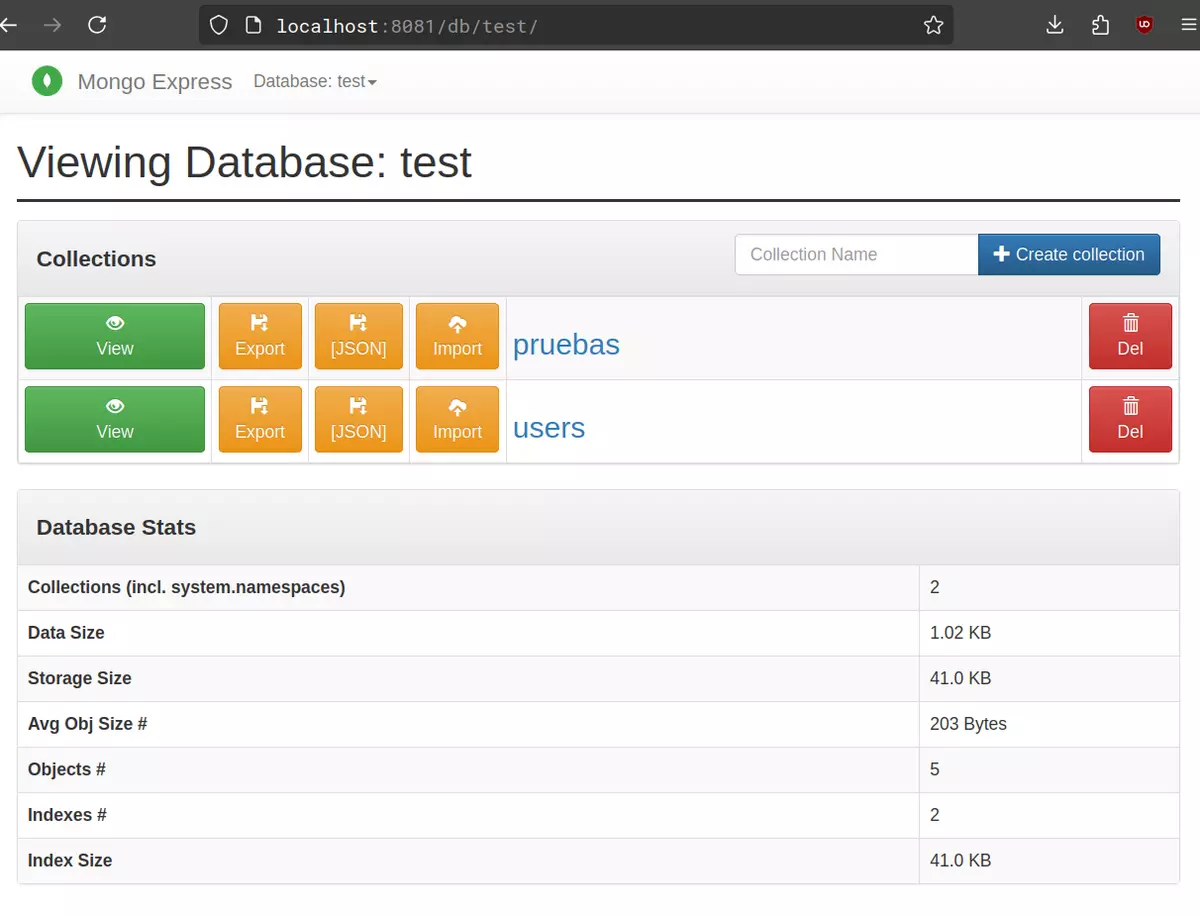
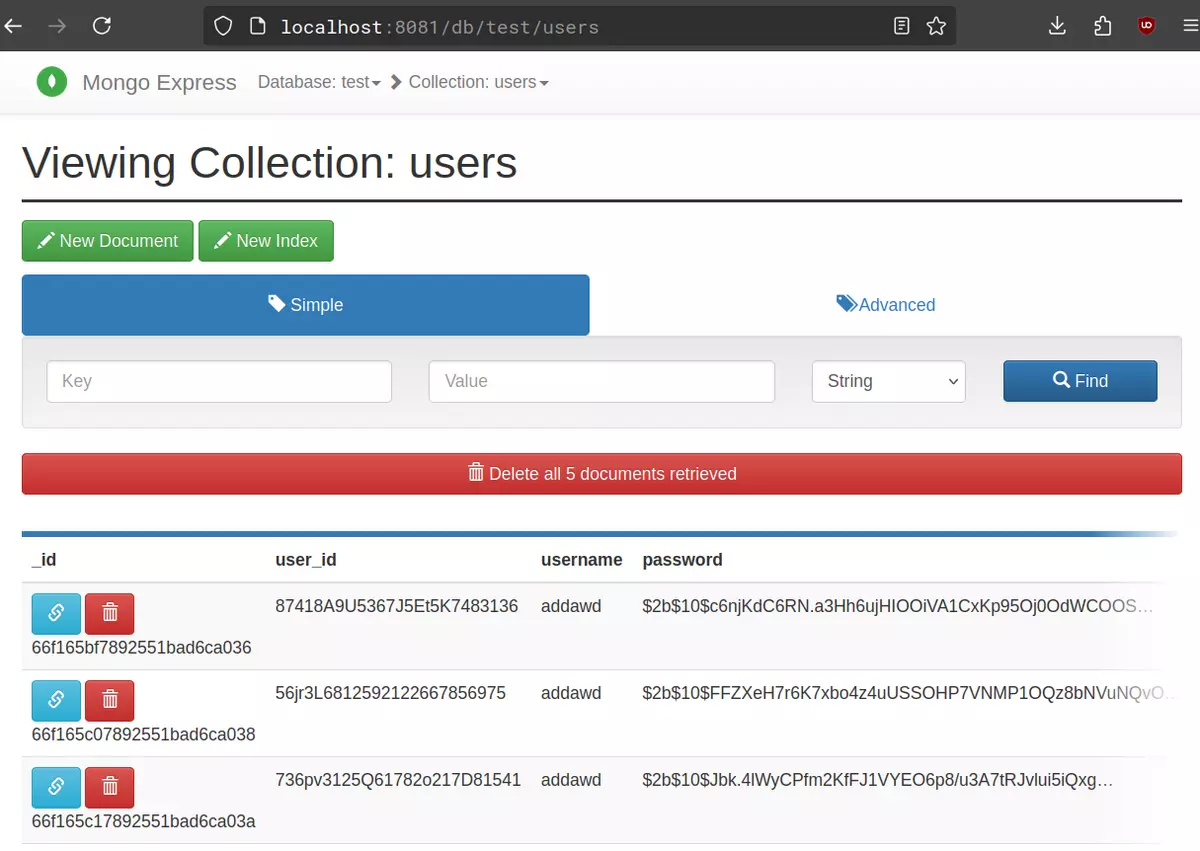
MongoDB provide a great GUI experience that we can access via http://localhost:8081/ (once the container is running). Inside, we'll have access to create, modify, delete and among others, every database that we have or we want to create. It's not that necessary to use it but it's a very powerful tool to use when you need to manage your databases graphically, easy and securely. Give it a try.


Final words
Although I haven't gone too much into Nuxt as such since it is not part of the context of this article, anyway with this we should already have an application in which Vue.js is used in the frontend of the application but rendering the content with a SSR backend made in Nuxt.js to then communicate with the database container with mongoose and saving the data in a MongoDB database, all this within Docker and using separate containers. Reviewing a little, we have configured the docker containers, prepared Nuxt having configured the connection to the database with mongoose and declared the connection globally with Nitro, configured the environment variables and tested Express for easier database management.
